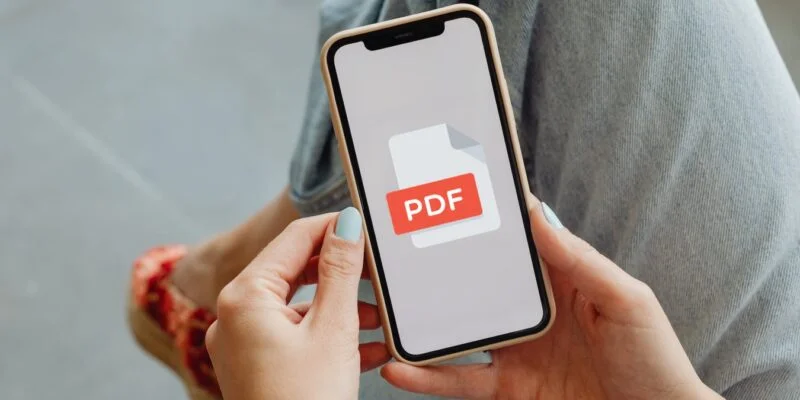
Do you want to convert a picture into a PDF file on your iPhone in an instant but don’t know how?
This guide provides three distinct methods: two through the Share menu and one via third-party applications, enabling greater customization.
The Print Feature of the iPhone
Converting an image to a PDF on your iPhone is remarkably simple, thanks to a built-in iOS function that is also accessible on iPadOS. To utilize it, just follow the instructions provided below:
To convert a photo, first, open the Photos app and select the desired image. If you wish to convert several photos, tap on Select located in the upper-right corner, and choose the necessary ones.
Click on the Share icon located at the bottom-left corner of your screen. However, try something different this time and select Print instead of Sharing.
Instead of tapping the Print button in the Print Preview screen, tap the Share icon beside it. This will generate a PDF file containing your photos, which you can share with others. Alternatively, you can choose to save it to your device by selecting the Save to Files option.
Apps for converting PDFs from third-party sources
To gain greater command and access to advanced functionalities while converting your images to PDFs, opting for third-party applications is recommended. A plethora of apps are available for this purpose, each offering unique features and capabilities.
Web-based applications such as JPG to PDF and iLovePDF are incredibly useful for swift conversions. These apps operate directly within your browser, eliminating the need for downloads.
Simply upload your image, and it will be converted online. Nevertheless, if you are handling confidential images, it is advisable to reconsider as these conversions occur on a remote server, making it an insecure option for your photos.
If you value privacy or desire additional features, the App Store’s iOS apps are the way to go.
My preferred app for converting images to PDFs on iOS is PDFGenius. It can convert, split, merge, compress, password-protect, and more. It’s available for free download, and there’s a reasonably priced lifetime license that eliminates all restrictions of the free version.
Create a shortcut for PDF
The Shortcuts app is available on all iPhones running iOS 13 or later, as well as iPads running iPadOS 13 or later. With this app, you can easily automate various tasks on your iPhone, such as converting pictures to PDFs.
You don’t have to make a personalized shortcut from the beginning because Apple has already made one in the Gallery section. Open the Shortcuts app, go to the Gallery tab, and look for “PDF.” Install the shortcut by tapping the + icon.
To convert your desired photo(s) into a PDF format, launch the Photos app and open the image(s) you wish to convert. Next, tap on the Share icon and scroll down until you locate the Make PDF option. Once you select this option, your photo(s) will be converted into a PDF file that you can either save to your device or share with others.
Conclusion
In this guide, you will learn three ways to convert a picture into a PDF on your iPhone.
The first method involves using the built-in iOS function, while the second method requires third-party applications such as PDFGenius.
The third method involves creating a shortcut for PDF using the Shortcuts app. With the iPhone’s built-in Print feature, users can easily share or save their photos as PDFs.
Third-party apps like PDFGenius offer advanced features and privacy, while the Shortcuts app allows users to automate tasks like converting photos to PDFs. Both methods offer customizable options for converting images to PDFs.
