Can I transfer photos quickly from iphone to iphone?
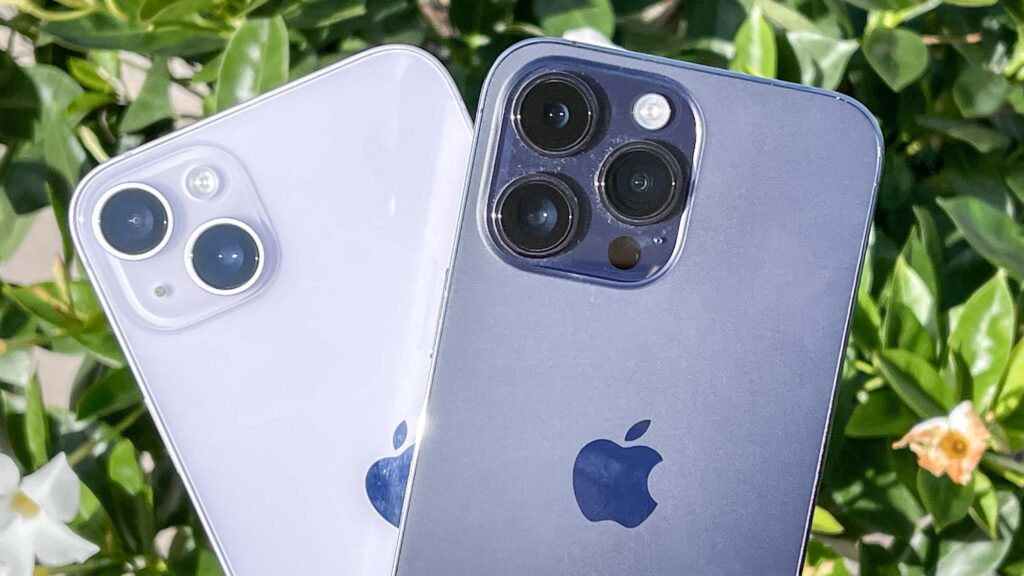
Acquire the skill of transferring your photo collection to a different iPhone or sharing specific images with a pal.
If you have a new iPhone and need to transfer all your photos from the previous device, or if you’re looking for ways to move pictures from someone else’s phone onto yours, there are several solutions available.
The following list outlines different methods of photo transferring between two iPhones.
Recover a backup from iCloud or your local device
In the event that you cannot retrieve your previous iPhone, simply resort to using an available backup in order to transfer images onto your new device.
Enabling storage optimization on iPhone for iCloud Photos prevents iPhone backups from containing photos, as they are stored in iCloud. Backups can be generated using iCloud, Finder, or Apple Devices.
To execute an iCloud backup operation, navigate towards Settings > [Your Name] > iCloud > iCloud Backup and then tap the option labeled “Back Up Now”.
To make a backup of your iPhone locally, link it to a computer, launch the suitable app, opt for your device and hit on Back Up Now.
Once you have completed a backup, proceed with the setup instructions on your new iPhone until you arrive at the Apps & Data section. Select to recover your iOS backup from this page, which may take up to an hour or longer.
Meanwhile, if still available, feel free to operate your previous iPhone as usual.
Use AirDrop or NameDrop to Move Pictures
AirDrop enables wireless file transfer between any two Apple devices through Wi-Fi and Bluetooth connections. If you send a photo with AirDrop, it transfers at a quick pace in its original quality without loss of detail.
It’s easy to use AirDrop on your iPhone, thankfully. Just open the Photos app and choose which photo(s) you want to transfer.
Next, select the Share button followed by AirDrop. Your iPhone will display a list of nearby devices with active AirDrop capabilities – simply pick your friend’s phone and start transferring!
In case your friend’s iPhone is not visible to you, suggest them to access Control Center. Then, direct them towards the wireless options located on the top-left section and encourage a long press.
Next up, they should tap AirDrop followed by choosing either Contacts Only or Everyone for 10 Minutes option.
It is also important for them to accept the transfer once you initiate it from your iPhone. Familiarize yourself with how to troubleshoot AirDrop in case of any issues encountered during photo transfers.
An additional effortless approach to achieve the same result is by utilizing NameDrop.
Choose the pictures you want to share and place your iPhone adjacent to the top edge of another iPhone. Your device’s name will pop up on the recipient’s phone, then simply tap “Share” and let NameDrop work its charm!
Share your photos through an iCloud link
Using an iCloud link is a simple method to transfer photos quickly from one iphone to another if you utilize iCloud Photos.
To generate an iCloud hyperlink, launch the Photos application and pick out which picture(s) you wish to distribute.
Hit the Share icon followed by scrolling downwards till Copy iCloud Link appears visible on your screen – then click it.
Your cellphone needs a little time to bed down those pictures in iCloud whilst creating a reference link right away saved into your device’s clipboard for convenient sharing purposes later on!
Copy and share the link with your friend to enable them download the photos on their iPhone.
Submit your photos via imessaging
Sending photos through iMessage is likely the simplest method to transfer them from your iPhone to another person’s.
If you can’t use iMessage, try sending the images over MMS in the Messages app instead. Do keep in mind that this option may result in lower quality pictures and additional fees charged by your cellular provider for utilizing MMS messaging services.
Begin by launching the Messages app and initiating a chat with the individual you wish to share pictures with.
Proceed to click on the plus (+) sign adjacent to your message field, followed by selecting Photos from among other available alternatives.
Subsequently, choose which picture(s) you intend to transmit before tapping Send.
A Shared Album on iCloud
Even if you don’t utilize iCloud Photos, it’s still possible to make use of iCloud to transfer photos quickly on iphone for generating a Shared Photo Album that can be shared with others.
With this feature, up to 100 individuals can access an album comprising as many as 5,000 photographs.
To share photos, start by opening the Photos app and picking out which ones you want. After that, click on the Share button followed by selecting Add to Shared Album.
Once there select either an already existing shared album or create a new one if none appeal to you; giving it a name is essential in this case as well as choosing contacts with whom you’d like to share your images before hitting Post!
The individuals with whom you choose to share your iPhone photos have the ability to contribute their own images, comment on, and download any pictures that you upload into the shared album.
Transfer Data swiftly with Quick Start
If you possess a fresh iPhone that is yet to be set up, Quick Start can assist in transferring photos and data swiftly.
Utilizing Wi-Fi technology, this feature seamlessly transfers all the information from your previous device including apps, messages, settings as well as pictures onto your new iPhone.
During the Quick Start transfer, which duration varies based on your data amount, you won’t be able to use either of your iPhones.
After switching on your new iPhone, bring it closer to the old one and commence the Quick Start transfer process by following instructions visible on screen.
Once the Quick Start transfer finishes, you’ll have access to all of your photos, apps and other information on your new device.
Access iCloud Photos by signing in
By enabling iCloud Photos, all the photos you capture on your iPhone get uploaded to the cloud. As a result of this convenient functionality, any device associated with your Apple ID can access and display your entire photo collection.
Therefore, utilizing iCloud Photos serves as an ideal solution if you wish to transfer pictures from one iPhone to another without interfering with applications or other data.
To sync your old iPhone with iCloud, open Settings and tap on [Your Name], then select iCloud followed by Photos.
Switch the toggle next to “Sync this iPhone” to turn it on, which will start uploading all of your photos automatically. To monitor its progress, simply scroll down to the bottom of the Photos app.
To sync your photos with iCloud on the new iPhone, first ensure that they are all uploaded to iCloud.
Next, access Settings and sign in using your Apple ID account details. Proceed to [Your Name] > iCloud > Photos and toggle the button for Sync this iPhone option.
Conclusion
Apple offers various ways to transfer photos quickly from iphone to iphone easily.
The suitable method will vary based on the duration of delay you can endure before starting with your fresh device, internet speed, amount of iCloud storage space available and if you prefer transferring all data or just images.
If you transfer photos between iPhones using any of these methods, the photo library on the new iPhone will be replaced.
Consequently, it is recommended not to employ these techniques if there are existing pictures on your new device that you want to keep safe and unaltered.
If you wish to send photos from your iPhone to a friend’s, the aforementioned techniques won’t be useful.
To avoid overwriting pictures already saved on your friend’s iPhone, there are several ways to conveniently share photos with them.
